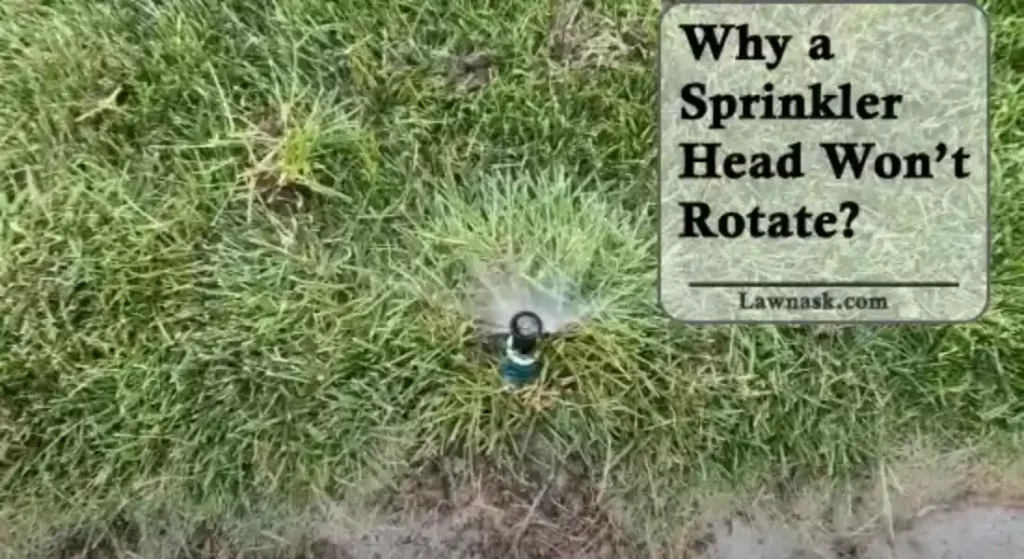
Why a Sprinkler Head Won’t Rotate? (A Perfect Guide)
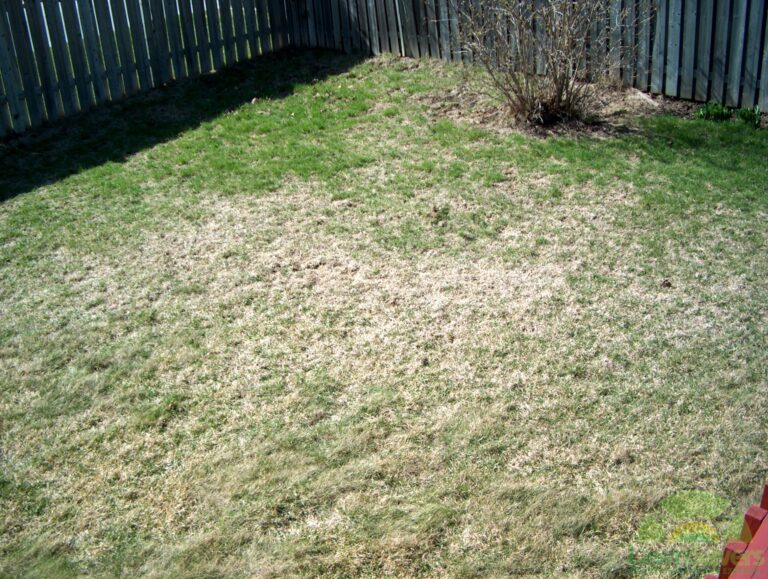
Sprinkler heads are an important part of any irrigation system. They make sure that water gets spread out evenly over a certain area. But sprinkler heads do not always turn on the right way, which can lead to uneven watering that could damage your lawn or plants.
The most frequent causes of non-rotating sprinkler heads include a clogged filter, a change in water pressure, a damaged sprinkler head, obstructions, and a damaged irrigation line.
In this article, we will look at the above-mentioned common causes of a sprinkler head won’t rotate and give you some practical ways to troubleshoot and fix the problem.
How to Fix a Sprinkler Head Won’t Rotate Problem?
Here are some of the most common reasons why you’re facing sprinkler head rotation problem and how to fix them:
| Causes of a Sprinkler Head That Won’t Rotate | Solutions |
| Clogged FilterDue to dirt and debris | Inspect and clean the filter regularly. |
| Change in Water PressureLow water pressureToo high-water pressure | Set the pressure to the recommended range.Fully open the valve for the water supply. |
| ObstructionsDue to grass, stones, and debris that comes in contact with the internal parts | Gently rub the assembly’s moving parts using sandpaper.Use a small needle or pin to clean out debris into the nozzle. |
| Damaged HeadDue to accidental contact with a lawn mower, or a car | Replace the damaged components or the entire head. |
| Damaged Irrigation LineDue to being clogged with debrisWorn-out over time | Replace the damaged part with the new compatible section. |
1. Clogged Filter
A clogged filter is the most likely reason why the sprinkler head won’t rotate. Dust and debris cannot enter the sprinkler nozzle because it is sealed.
Over time, the sealed filter captures dirt, sand, mineral content, metal parts, rust, algae, etc., and becomes clogged.
The Fix
Inspect regularly and clean the filter to prevent clogging. You can follow the troubleshooting steps to clean the filter:
Step-1: Turn off the water supply
- To prevent flooding due to water flow.
Step-2: Locate the filter
- Depending on the sprinkler system, a plastic or mesh filter could be located either in the sprinkler head or in the riser pipe which is connected to the sprinkler head.
Step-3: Remove the filter
- If the filter is connected to the riser pipe, unscrew the cap on top of the riser.
- The filter located on the sprinkler head can be removed simply by twisting or using a pair of pliers.
Step-4: Clean the filter
- Remove the debris using a soft-bristled brush or a toothbrush and rinse the filter in a bucket filled with clean water.
- You should also flush the sprinkler head under running water.
Step-5: Reassemble the system
- Put back the filter in place and turn on the water supply.
Read Also: How to Fix Dirt Patches in the Lawn: Know the Best Solution
2. Change in Water Pressure
When the water pressure hits the sprinkler’s gears, it moves and turns the spray head.
Low Water Pressure
When the water pressure is low, the sprinkler head will have a hard time going around its arc, or it may not turn at all because the water does not have enough force behind it.
High Water Pressure
Again, if the water pressure is too high, the gear won’t work the way it’s supposed to. Because of the high pressure, the head moves in strange ways or does not move at all.
The Fix
Follow the suggested solutions to resolve the water pressure problem.
- Use a pressure gauge at the point where the sprinkler system connects to the water pipe and check the water pressure.
- Use a regulator to set the pressure to the recommended range, which is usually between 30 and 60 psi.
- Also, make sure that the valve for the water supply is fully open.
3. Obstructions
Obstruction is another obvious reason why the sprinkler head won’t turn. Some of these things are dirt, grass, trash, rocks, sand, metals, etc.
These things can come into contact with the sprinkler head’s cylinder, gear unit, rotating bar, and adjusting mechanisms. This can cause friction, which slows the sprinkler head’s movement.
The Fix
Carefully take off the sprinkler head and check to see if any of the sprinkler parts are blocked.
Use the sandpaper to gently rub the assembly’s moving parts. Using grit sandpaper cuts down on things that could get in the way of the sprinkler head moving smoothly. Put a small needle or pin into the nozzle to clean out debris.
You should not use lubricants because they can attract more dirt and cause more problems.
4. Damaged Head
The sprinkler head will not rotate if the internal component is broken. Components such as the riser, spring, and nozzle may break, deform, or fracture when subjected to high-impact factors.
The damaged plastic casing surrounding the sprinkler head is a common indicator.
Accidental contact with the sprinkler head by a lawnmower or vehicle is the most typical cause of damage. Likewise, they could degrade over time, as most sprinklers have a maximum lifespan of twenty years.
The Fix
A damaged head requires replacement. Ensure you purchase the correct design that suits your model’s nozzle. To replace the head, proceed as follows:
Step-1: Switch off the water supply
- To prevent water waste and flooding accidents.
Step 2: Remove the head
- With a flat screwdriver, unscrew the head from the riser in an anticlockwise motion.
- If the sprinkler head is pop-up, unscrew the cap.
Step-3: Reattach the replacement sprinkler head
- The head must be tightly secured to the riser or pop-up assembly. Ensure that the cap is raised and the nozzle is attached to the head.
Read Also: Can I Use Garden Soil for Lawn?
5. Damaged Irrigation Line
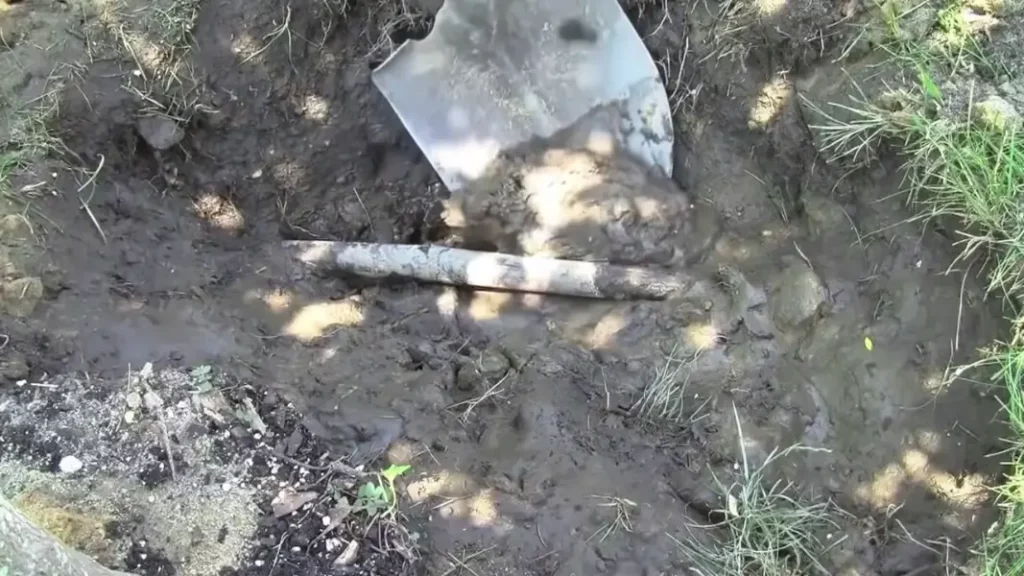
The irrigation line may become clogged with tiny particles such as dirt and sand. It could also become damaged over time. This impacts the water pressure, which in turn impacts the sprinkler head’s capacity to rotate.
Underwater pressure, the sprinkler head raises the nozzle for the distribution of water. If the water supply is inadequate, the head will not emerge from the ground and will remain in place.
The Fix
Follow the steps below to fix the damaged irrigation line:
Step-1: Turn off the water supply
- Turning off the water supply will prevent water from flowing through the irrigation system during maintenance.
Step-2: Identify the damaged part
- Dig in the vicinity of the line’s location.
Step 3: Remove the damaged area
- Use a pipe cutter or hacksaw to produce a straight and precise cut.
Step-4: Join the new section
- Cut a new section of irrigation line with the same diameter and length as the old section.
- Join it to the old section using PVC adhesive or compression fittings.
Frequently Asked Questions (FAQs)
How much does a sprinkler head cost?
A sprinkler head costs between $2 and $12. Average replacement costs range between $65 and $90 per unit.
What are the basic classifications of sprinkler heads?
Spray Irrigation Heads, Rotary Sprinkler Heads, Bubbler Irrigation Heads, and Drip or Soaker Systems are the four basic types of sprinkler heads.
What material is the sprinkler head made of?
Brass is the standard material used to manufacture sprinkler heads.
What differentiates a spray head from a rotary head?
The primary distinction between spray heads and rotary heads is that spray heads produce a steady stream of water, whereas rotary heads rotate across the area they are watering. Spray heads are ideal for smaller areas, such as along the perimeter of a home or in smaller landscaped areas.
Related Posts: