Riding Mower Blades Won’t Engage! How to Fix?
A riding mower is a useful tool for keeping your lawn tidy with minimum effort. But, if the mower blade fails to engage, it may be quite frustrating and leave your lawn looking unkempt.
Safety switches, a worn or broken drive belt, a defective PTO switch, a damaged or loose blade, electrical difficulties, or an imperfectly balanced deck can all cause a riding mower blade not to engage.
In this article, some of the most common causes of Riding Mower Blades Won’t Engage will be touched on. There will also be some troubleshooting and repair advice.
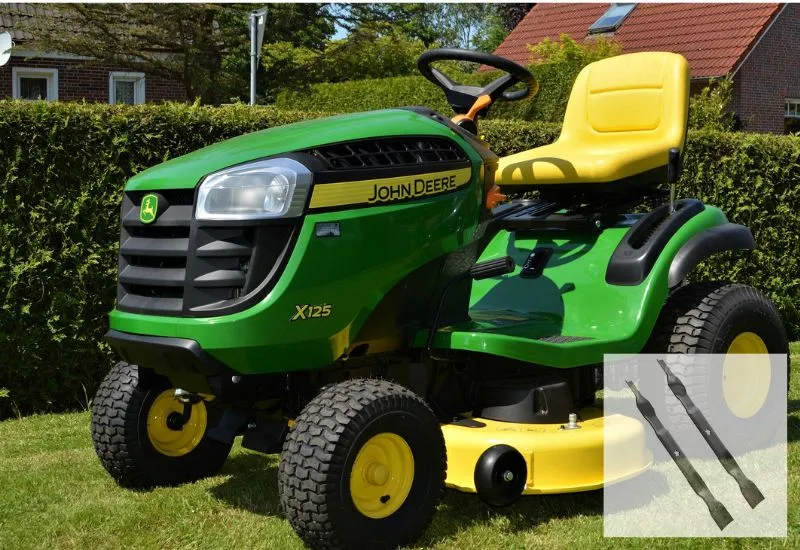
Why Won’t the Riding Mower Blade Engage?
When a riding mower blade fails to engage, it may be annoying and inconvenient to your lawn care routine.
One typical reason is malfunctioning safety switches, which prohibit the blade from activating if specific criteria are not satisfied.
Check the parking brake, rider position, and other safety controls to ensure they are operating properly.
Another potential problem is a broken or worn drive belt. This belt connects the engine to the blade, and if it gets loose or broken, it can prevent the blade from rotating.
Similarly, a malfunctioning PTO switch that activates the blade might be to blame.
5 Reasons Riding Mower Blades Won’t Engage (Easy Fixes Included)
Here are some of the symptoms of a riding mower blade won’t engage problem along with the solutions.
1. Safety Switch Stopping Blades
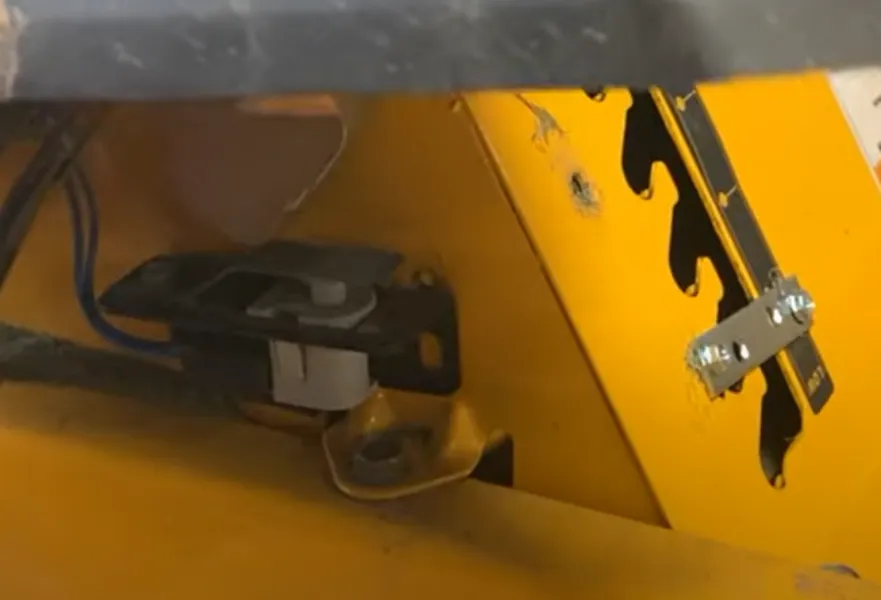
Many riding mowers are equipped with safety switches that prohibit the engine from starting or the blade from engaging.
This happens if specific criteria are not satisfied, such as the rider not being securely seated or the parking brake not being engaged.
If the seat safety switch is not working properly, the mower will not start, which means the belt will not engage. When you try to engage the blade, the parking brake safety switch may not activate.
The Fix
It is essential to inspect the belt tension on a regular basis to resolve the issue of a riding mower belt not engaging. Remember to examine the belt for damage and to confirm that it is properly channeled and placed.
Inspect the pulleys for damage and ensure that all safety switches are operational. Often lubricate any moving parts that might be producing friction on the belt.
2. Damaged or Bent Blades
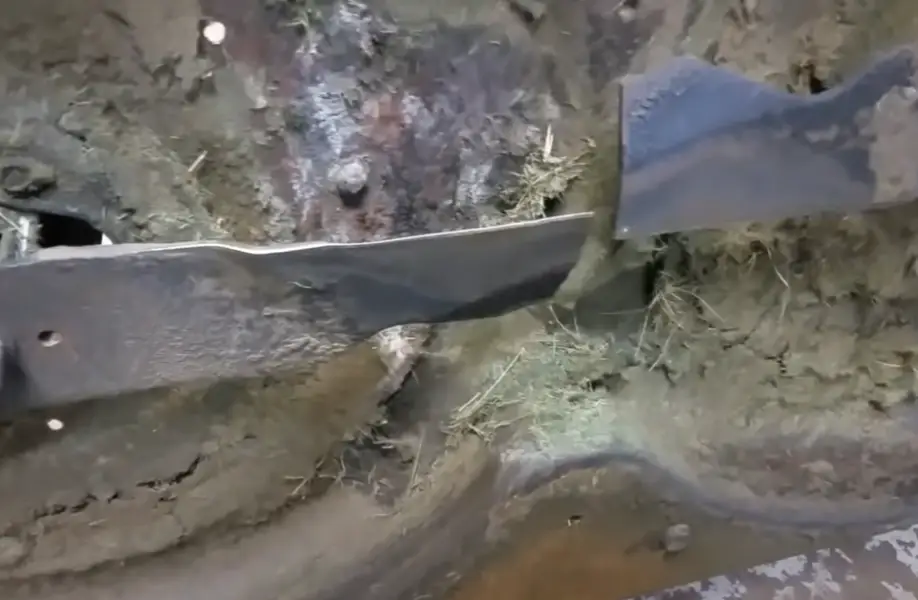
Damaged or bent blades can cause an uneven load on the belt, causing it to slip or come off the pulleys. If the belt is not correctly engaged, this can activate the safety switch, which is meant to prevent the engine from starting or the blades from rotating.
Similarly, a loose blade might cause the belt to slip or fall off the pulleys, resulting in safety switch concerns.
The Fix
Examine the blades for evidence of damage or wear and the spindle assembly to confirm that it is not damaged and that it is correctly aligned. Check that the belt is correctly tensioned and not overly loose.
Ascertain that the belt is properly routed and fitted. If not, reroute the belt according to the manufacturer’s recommendations. Examine the pulleys to ensure that they are not broken or worn.
3. Electrical Issue
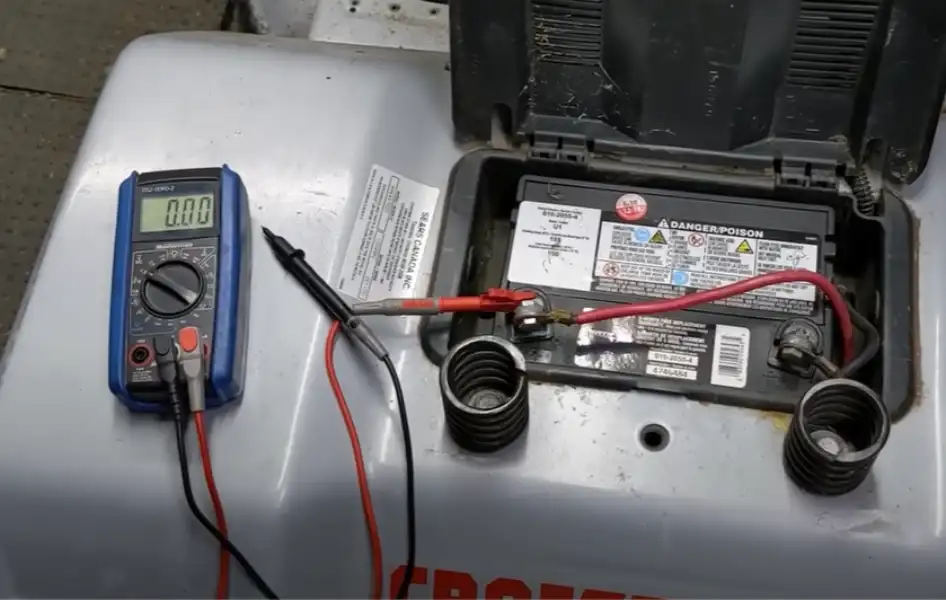
The engagement of the belt in modern riding mowers is regulated by an electronic clutch that engages the belt when the mower deck is switched on. If there is an electrical issue with the clutch or the wiring that regulates it, the belt may not engage.
Some riding mowers also feature safety switches that are linked to the electrical system. If the safety switches have an electrical fault, it might prevent the belt from engaging and create safety switch troubles.
The Fix
Check that all electrical connections, including those controlling the electric clutch, are clean, tight, and corrosion-free.
Look for evidence of damage or wear in the wiring that controls the electronic clutch and safety switches. When needed, replace any broken or worn wire.
Inspect that the battery is completely charged and in excellent working order. Electrical difficulties caused by a weak or dead battery might prevent the belt from engaging.
4. Faulty PTO Switch
Some riding mowers feature safety switches linked to the PTO switch that prohibit the engine from starting or the blades from rotating if the PTO switch is not correctly engaged.
When there is a problem with the PTO switch or its related safety switches, the belt may not engage properly, resulting in safety switch problems.
The Fix
Examine the PTO switch for evidence of damage or wear. Check that everything is working properly and that the mower deck blades are engaging and disengaging accurately.
Verify that all safety switches related to the PTO switch are operational. Look for evidence of damage or wear in the cabling that links the PTO switch and safety switches to the mower’s electrical system.
5. Deck Leveling
Deck leveling is one of the signs of a riding mower belt that is not engaging correctly. If the deck is not level, the belt may slip or come off the pulleys, preventing appropriate engagement.
A skewed deck can be caused by several issues, such as worn or broken deck pieces, misaligned pulleys, or worn-out spindles. Also, if the mower collides with an item or is operated on uneven ground, the deck may become misaligned.
The Fix
Assess the deck for signs of damage or wear. Check the condition of all deck parts and repair any worn or broken pieces as needed.
Make sure that the pulleys and spindles are correctly aligned and in good working order. Inspect the deck height and make any required adjustments.
Check the deck’s level using a level. To verify that the deck is level, use shims or adjustment screws as needed.
Related Post: Riding Mower Does Nothing When I Turn the Key! What’re Solutions?
How to Choose and Replace a Riding Mower Belt for Maximum Performance
There are various factors to consider while replacing your riding mower belt to guarantee peak performance. Here are some recommendations for selecting and changing a riding mower belt:
- Ascertain that you have the proper belt size and type for your particular make and model of riding mower.
- Damaged or broken pulleys might cause the belt to slide or prematurely wear out. Examine the pulleys for signs of wear or damage and replace them as needed.
- Clean the deck before installing the replacement belt to eliminate any debris that might cause harm to the belt. To ensure that the replacement belt is properly attached, carefully follow the manufacturer’s instructions.
- Check that the belt is properly routed around all pulleys and that the tension is appropriately set. Check the tension after installing the replacement belt to ensure that it is properly set.
- Insufficient tension might cause the belt to slip, while excessive tension can cause excessive wear.
Related Post: The Guide on PTO Switch Wiring Diagram
Frequently Asked Questions (FAQs)
How do I know if I need to change the belt on my riding mower?
Apparent damage or wear, slipping or squeaking noises, or the mower not moving forward or backward as intended.
When should I change the belt on my riding mower?
Riding mower belt replacement frequency might vary based on factors such as usage, mower age, and maintenance methods.
What are some preventative maintenance procedures to keep the riding mower belt in good working order?
Regular cleaning, lubrication, and examination of the belt and related components are examples of preventative maintenance methods for a riding mower belt.
Related Posts:
