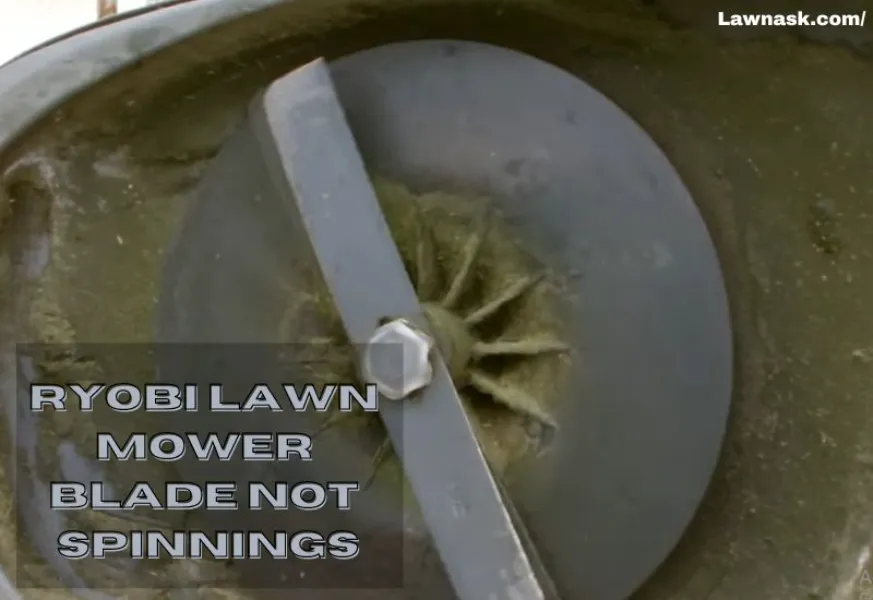
6 Reasons Why Ryobi Lawn Mower Blade Not Spinning
Ryobi lawn mowers are popular with homeowners due to their affordability, durability, and usability. As with any lawnmower, the Ryobi’s mechanism for spinning the blades may have defects. Without engaged blades, grass will not be cut, resulting in an uneven lawn. Fixing this issue quickly will keep the grass neat and prevent mower damage.
There are many reasons that can stop spinning the blade of a Ryobi lawnmower. Here are six of the most common causes for a Ryobi lawn mower blade that won’t turn:
- Controller module failure
- Faulty PTO clutch
- Faulty PTO switch
- Damaged drive belt
- Seized pulley
- A damaged blade
In this article, the most common causes of Ryobi lawn mower blade not spinning will be discussed, and provide you with practical troubleshooting and repair advice.
6 Major Causes Why Ryobi Lawn Mower Blade Not Spinning
| Causes of Ryobi Lawn Mower Blade not Spinning | Solutions |
| Controller Module Failure | Replace the failed module |
| Faulty PTO Clutch | Replace the PTO clutch |
| Defective PTO Switch | Install a new PTO switch |
| Damaged Drive Belt Stretched or loose beltWorn-out belt | Adjust the tensionReplace the belt |
| Seized Pulley Due to rust or dirt | Clean with a sandpaper or wire brush and lubricateReplace the pulley |
| Damaged Blade | Sharpen and repair the bladeReplace the blade |
However, to troubleshoot the problems you must have access to tools like a digital multimeter, sandpaper, wire brush, adjustable wrench, socket, blade sharpener, safety gloves, open-end box wrench, pliers, etc.
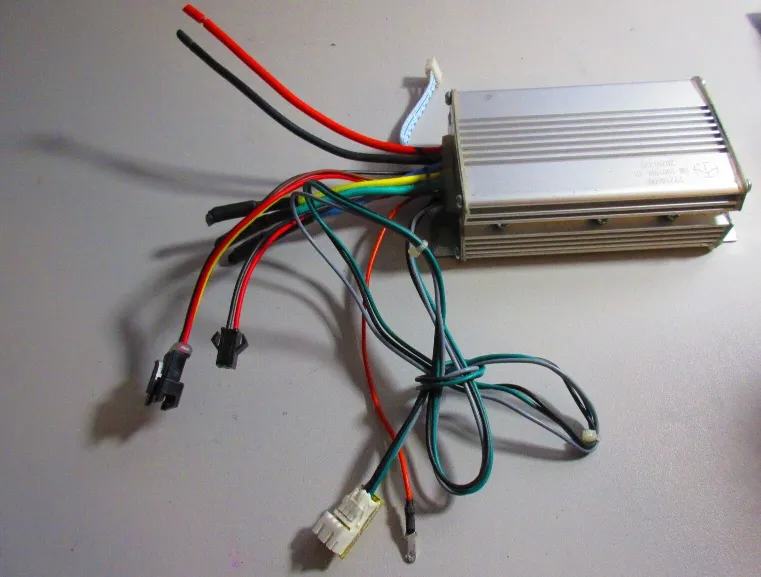
1. Controller Module Failure
Follow the troubleshooting steps listed below-
Step-1: Unplug the spark plug
- An unplugged spark plug prevents the engine from starting by accident.
Step-2: Examine the connections
- Examine the wiring and connections between the engine and the controller module.
- Restore or replace the damaged items.
Step-3: Examine the module
- Connect the leads of a digital multimeter to the motor controller’s pins and measure the resistance across each pin.
- The resistance must conform to the user handbook. A measurement of approximately 18 kilo-ohms is typical.
- An aberrant reading suggests that the controller is malfunctioning.
Step-4: Replace the module
- Call the manufacturer or repair service for installation instructions and replacement parts.
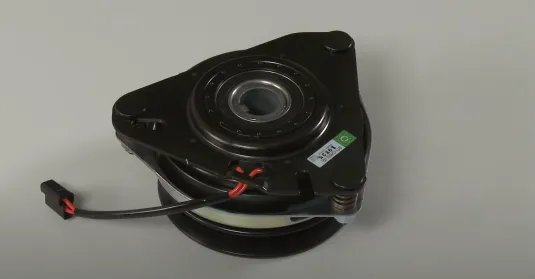
2. Faulty PTO Clutch
The clutch is typically situated beneath the engine and is linked to the crankshaft. PTO Clutches cannot be repaired and must be replaced. Follow the troubleshooting steps to replace-
Step-1: Disconnect the spark plug wires
Step-2: Remove the blade belt
- Release the belt tension
- Pull the bolt out that threads into the crankshaft
Step-3: Release the clutch
- Unplug all the wires that fit into the clutch
- Pull out the clutch
Step-4: Install a new clutch
- Line up with the keyhole in the crankshaft
- Put in the bolt and torque it to the proper torque spec
- Retention the belt
Step-5: Reconnect the spark plug wire
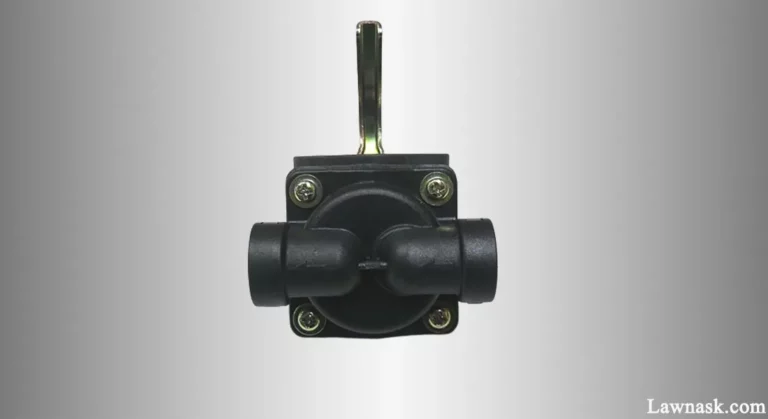
3. Defective PTO Switch
A defective switch will prevent the PTO clutch from receiving power, preventing the blade from rotating.
Use the leads of a digital multimeter to test the switch for continuity. An abnormal reading indicates that the switch is malfunctioning and must be replaced. Below are some troubleshooting steps-
Step-1: Turn off the ignition switch
Step-2: Remove the operator console plate
- Remove the four hex screws from the console plate. This provides access to the bottom of the PTO switch.
Step-3: Unclip the wiring harness
- Unclip the wiring harness from the bottom of the PTO switch
- When using pliers, be careful not to damage the clips
Step-4: Break off the pressure clips
- Pressure clips have to be broken in order to get the switch removed
Step-5: Clip in the new PTO switch
- The wiring harness will only clip into the new PTO switch one way.
- Lower the console plate and reinstall the four hex screws
Related Post: A Comprehensive Guide to Electric PTO Clutch Troubleshooting
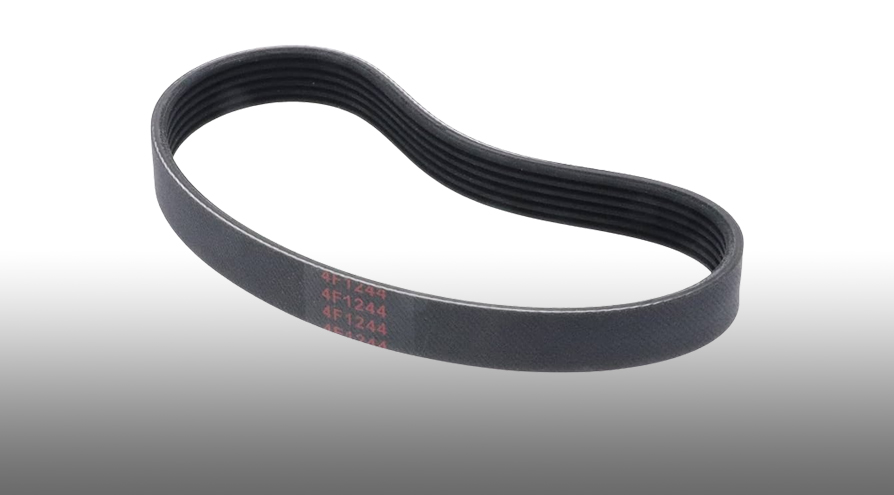
4. Damaged Drive Belt
Follow the steps below to replace the drive belt-
Step-1: Locate the drive belt
- It is found beneath the mower deck.
- To gain access to the drive belt, remove the blade cover or any gourds that protect the deck belt system.
Step-2: Remove the damaged belt
- Loosen the tensioner pulley in order to remove the belt’s tension.
- Remove the belt located between the pulley and the belt guard.
Step 3: Install a replacement
- Route the belt around the pulley.
- The belt must be properly positioned within the pulley grooves.
Step-4: Adjust the tension
- Adjust the tensioner pulley so that the belt is sufficiently tightened to give adequate traction.
5. Seized Pulley
First, you must clean the rusty or dirty pulley with a wire brush or sandpaper, lube the bearings with a high-quality lubricant, and align the pulley with the engine shaft and the blade.
If the issue persists, replace the pulley. Here are several troubleshooting steps for replacing the pulley:
Step-1: Turn off the engine
- Unhook the wire from the spark plug.
Step 2: Examine the pulley for any damage.
- The pulley must be replaced if there is any evidence of damage, such as cracks or worn teeth.
Step 3: Change the pulley
- With a ratchet, remove the top-most hold-down nut.
- For the mandrel, block the movement of the blade with a piece of wood.
- For an idler, use an open-end box wrench to grasp the nut below.
Step-4: Reassemble the system
- Reconnect all the opened parts in reverse order.
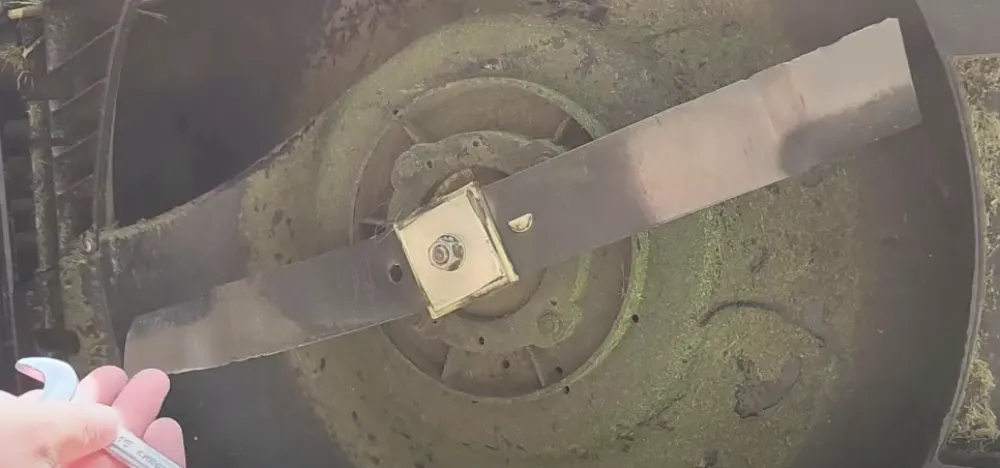
6. Damaged Blade
Use the below troubleshooting steps to repair or replace the blade:
Step-1: Raise the mower deck
- After disconnecting the power source, place the mower on its side.
- Ensure that the petrol and oil caps are securely screwed on
Step-2: Remove the blade
- To loosen the bolts, use a socket wrench.
- Adjustable wrenches can be a little bit loose and will not grip firmly.
- Hold the blade while unscrewing the bolts while wearing gloves.
- Remove the washer that holds the blade.
- Take off the blade
Step 3: Replace or fix the blade
- Sharpen the blade or replace it with a new one.
Read Also: Why My Lawn Mower Blade Not Spinning Fast?
Ryobi Lawn Mower Blade Not Spinning – FAQs
How can I identify the underlying cause of my Ryobi lawnmower’s blade not spinning?
First, inspect the blade for damage or wear. If it appears to be in good condition, check the belt and pulley system for damage. Then check the air filter and fuel line for clogs and the motor controller for malfunction.
Can I repair a non-spinning Ryobi lawn mower blade by myself?
That depends on the root of the problem. If the repair is straightforward, such as replacing a broken blade or cleaning a clogged air filter, you may be able to handle it yourself. But, if the situation is more complex, such as a malfunctioning engine, it is advised to seek professional assistance.
How frequently should I inspect my Ryobi lawn mower for issues such as a non-spinning blade?
It is advised that you inspect your lawn mower before each use to verify that it is in good functioning order. Regular inspections and maintenance can help prevent problems and extend the life of your lawn mower.
Is a resistance of 9 kilo-ohms typical for the controller module?
No, this is not typical. Nonetheless, the resistance should adhere to the user manual’s specifications. A measurement of approximately 18 kilo-ohms is typical.
Final Words
To prevent further damage to the lawnmower or any safety issues, it is essential to determine the root source of the issue and treat it immediately.
Frequent maintenance and inspections can prevent these problems from arising and ensure the lawn mower’s best operation.
If the issue persists or if you are not able to troubleshoot and resolve it, you should seek professional assistance.
Related Posts:
- Exploring the Purpose of a Mower Blade Balancer
- Optimizing Blade Position on a 3 Blade Mower Deck for the Perfect Cut
- Exploring the Benefits and Drawbacks of Mulching Blades
- Comparing Mulching Blades and Regular Blades: Which is Best for Your Needs?
- Comparing 2 Blade and 3 Blade Mower Decks for a Healthy Lawn